My Data

My Data is a place on the Goldfire Server where you save items such as search results and document summaries. For details on saving query results to my data, see Saving search results.
You organize the data items that you save in one or more collections of saved items. Collections enable you to organize your saved data items, and one or more collections can be saved under a logical grouping called a folder. Similar to other data sources like Accuris Content, Articles, and so on, using the query box that appears at the top of the main Dashboard, Researcher, or My Data windows, you query all or select collections and folders that appear in the My Data pane.
The My Data page comprises two areas:
- At the left, under Collections and Folders, is the list of saved collections (
 ), some of which may be organized under folders (
 ). If other users' collections are shared with you, they also appear in the list (
 ).
). - At the right, under the name of your selected collection, are one or more pages of saved data items in that collection.
Use the toolbar at the top of the Collections and Folders pane to work with your My Data content as follows:
 - create an empty collection in either the root of the navigation tree, or in a selected folder (
 ). Click and type the desired name. Multiple collections with the same name is permitted.
 - rename a selected collection (
 ,
,  ) or folder (). Collections shared with you cannot be renamed, but you can rename collections you shared. You can also double-click to change the name of a collection. The new name also appears to users with whom this collection is shared.
 - delete shared or unshared collections. You cannot delete a folder while it contains collections. You cannot delete multiple collections at once.
 - export one or more collections as a .dat file. When you click , the Export Collections window appears, where you select which of the collections you created or that others have shared with you to export.
 - import collections in .dat file format. Where a matching collection already appears in My Data, you can replace, duplicate, or merge items from the incoming file. Duplicate collections are identified by the items within, not by the collection name itself.
 - share a selected collection with specific users or groups of users in your organization. For existing shared collections, select the collection and click to unshare it from one or more specific users or groups of users. Click Sharing collections with other users for details.
 - select how to filter and sort collections and folders that appear under Collections and Folders. If you select to display only collections, you can further specify whether the list is sorted by time or alphabetically. When filtering is applied, the toolbar button appears as follows:
  .
.
 - create a parent folder under which to move (
 ) child collections to form a logical hierarchy of folder parent nodes and child collections nodes.
- select one or more collections (, ) that appear in either the root navigation node, or in an existing folder, and then click to associate them with a folder. Collections can only appear in one folder at a time. Items shared with you cannot be moved into a folder; however, items you have shared with others can.
 - expand a folder and select one or more of its collections then click to move the items out of the folder and back into the root of the Collections and Folders pane.
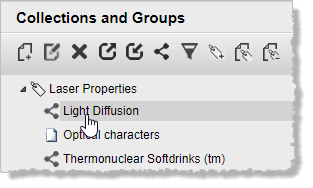
Items that appear in the Collections and Folders pane are identified by an icon to the left of each as follows:
- collection, which consists of one or more data items you identified as My Data when conducting a search. Collections () can appear in the root of the Collections and Folders pane, or in a selected folder (). Multiple collections with the same name are permitted. A collection can only appear in one folder at a time.
- collection you shared with users either individually or as members of a domain network group.
 - collection that another Goldfire user shared with you to which you have Write access. You cannot rename this collection, but you can add and remove items within that then become visible to other users with whom this collection is also shared.
 - collection that another Goldfire user shared with you to which you have Read access. You have modification rights with this type of collection. You can only remove it () from your My Data navigation tree. However, instead of removing it, you can filter () whether shared collections appear in the Collections and Folders pane.
 - check boxes appear under collections. Select or clear them to change the type of results that appear in the detail pane to the right of the Collections and Folders pane.
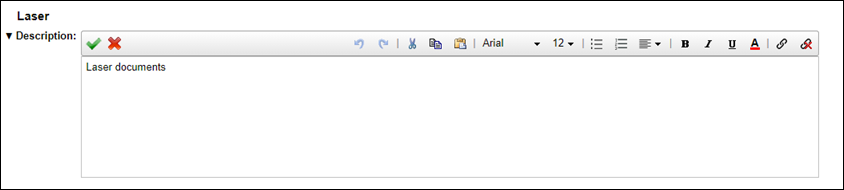
Type details about saved snippets. Goldfire searches annotations when you search using the query box that appears in the My Data window.
- Click the desired collection in the Collections and Folders pane.
- This brings up the Description box. Hover the cursor over the Description pane, and then click Edit when it appears.
- Type the desired description in the text editor dialog box, and then click
 or collapse the text editor to save the description.
- (Optional) Make changes to the description by clicking Edit or click Clear to delete the description.


There are two ways to search My Data collections:
-
Clicking the My Data check box that appears above the query box in the Dashboard and Researcher windows. This search queries within all documents referenced in your My Data collection, but is not limited to just the snippets saved within My Data. It returns results that occur anywhere within the citations you added, but that are not necessarily included in the snippets saved to the My Data collection.
-
Using the search box at the top of the My Data window. This search queries only the snippets that appear in the My Data collection. It does not search beyond the snippets you saved; however, it does search annotations you created when saving snippets to My Data.
Using the Dashboard and Researcher windows, search the underlying documents referenced in the My Data knowledge base. This search is more extensive than just searching the snippets and annotations saved in the My Data collection, as it searches the entirety of documents referenced in My Data.
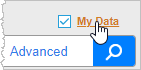
- Above the query text box, click the My Data check box. When the My Data check box is selected the other knowledge bases (Accuris Content, Articles, etc.) are disabled.
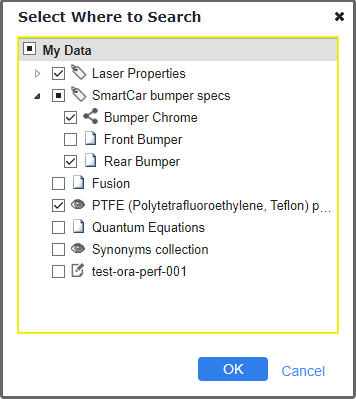
- To select specific collections and groups in the My Data collection within which to search, click the My Data label (
 ) to the right of the My Data check box to display the Select Where to Search window where you toggle various groups and collections as displayed below.
- In the query box, type the desired query, and then click
 (Submit your query).
Search within your My Data collections. The search conducted is a keyword search that searches only data that appears on-screen, whereas searching the My Data knowledge base using the main Researcher window searches the entire body of the documents.
- Using the My Data window, above the query text box, which appears above the details pane to the right, click the My Data check box.
- To select specific collections and groups in the My Data knowledge base within which to search, click the My Data label () to the right of the My Data check box to display the Select Where to Search window where you toggle various groups and collections as displayed below.

- In the query box, type the desired query, and then click (Submit your query).
-
Click Reset to clear the search box and remove its effect on the current display.
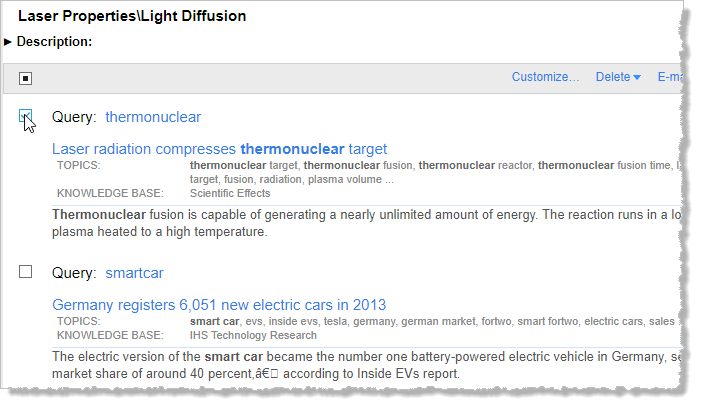
- To work with one or more data items in a collection, select the collection in the Collections and Folders pane to show its related items in the detail pane to the right.

- Click the check box that appears in the detail pane toolbar to select all of the items in the collection, or click the check box to the left of individual items in the detail pane.

- Select from the following options:
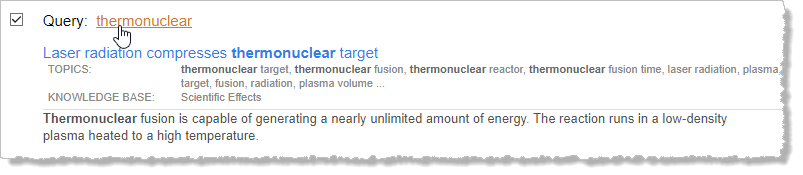
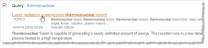
- Query - click the link to re-run the query against the knowledge base from which it was originally curated.
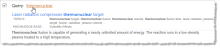
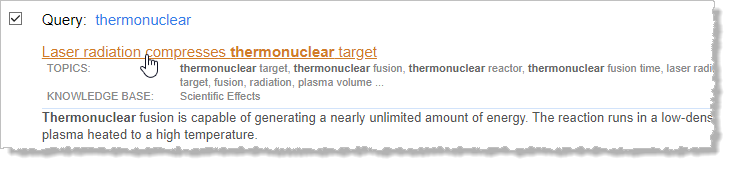
- Display Item - click the item name to display its contents.
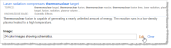
- Customize - display the Customize window where you specify the data types that appear beneath the data item name in the detail pane, the order in which they appear, and add custom labels with which you annotate items.
- The annotation type can be either text or numeric. In the example below, the Image label is added to all results, and each result can be annotated individually by clicking Edit. Were it a numerical annotation type, you could just type a value in the annotation box without clicking Edit.
- Delete - with the check box to the left of an undesired item(s) selected, click Delete and from the popup menu, select whether to delete the selected item or all items in the collection.
- E-mail - with the check box to the left of a desired item(s) selected, click E-mail and from the popup menu, select whether to email the selected item or all items in the collection. Controls appear above the collection details where you type email details and select the format in which to send the attached items. Click Send E-mail.
- Export Results - with the check box to the left of a desired item(s) selected, click Export Results and using the Export Results window that appears, select the desired file format for the exported file.
- Query - click the link to re-run the query against the knowledge base from which it was originally curated.